Laying out images
Turning image displays ON and OFF
-
Click “Image” in the toolbar.
- With each click, the image display switches between ON and OFF.
- When the image display is turned on, a check mark will appear next to “Image”.
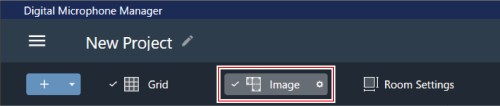
The image display turns ON or OFF.
Importing image files
-
Click the gear icon next to “Image” in the toolbar.
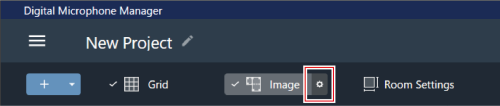
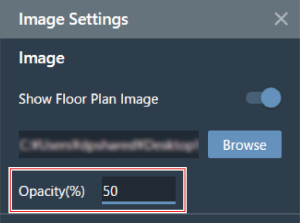
“Image Settings” appears in the context panel.
-
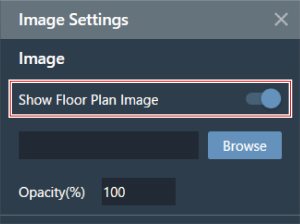
Click the switch for “Show Floor Plan Image”.
- With each click, the image display switches between ON (blue) and OFF (no color).
-
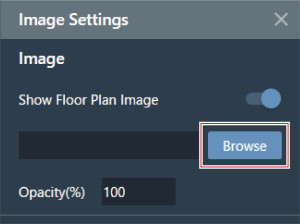
Click “Browse”.
-
Select and open image files saved to your computer.
- .png, .jpg, .jpeg, and .bmp files are supported.
- Only one file can be imported.
- Importing another image after an image has already been imported will result in the first image being replaced by the second image.
The image is imported.
Setting image opacity
-
Click the gear icon next to “Image” in the toolbar.
“Image Settings” appears in the context panel.
-
For “Opacity”, enter the opacity.
-
Click the main area or press the Enter key.
The image opacity is set.
Setting image position and angle
-
Click the gear icon next to “Image” in the toolbar.
“Image Settings” appears in the context panel.
-
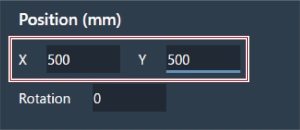
Under “Position”, enter the position from the origin point using “X” (horizontal direction) and “Y” (vertical direction).
- The upper-left corner of the image becomes the position for reference.
-
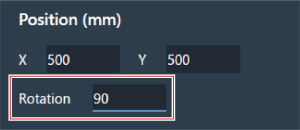
For “Rotation”, enter the rotation angle of the image.
- The image rotates clockwise at the entered angle.
-
Click the main area or press the Enter key.
The image position and angle are set.
|
|
|
|---|
Setting the image size
-
Click the gear icon next to “Image” in the toolbar.
“Image Settings” appears in the context panel.
-
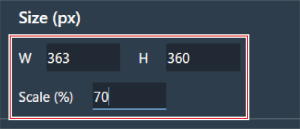
Enter the pixel size using “W” (Width) and “H” (Height) under “Size”, or enter the scale ratio in “Scale”.
- If a value is entered into either “W”, “H”, or “Scale”, the image will be resized while maintaining the ratio.
- Changing the ratio of the image width and height is not possible.
-
Click the main area or press the Enter key.
The image size is set.
|
|
|
|---|