Position markers
Adding a position marker
These mark the positions where sound is detected. This is useful for setting zones when a room drawing is not available. The positions of Coverage Zones and Priority Zones can be set by referencing position markers.
- Position markers can only be used if the microphone is online.
- Position markers can be used for marking up to 16 locations for each microphone.
- Position marker
-
Select a microphone in the main area.
The microphone settings screen appears.
-
Click “Beam”.

-
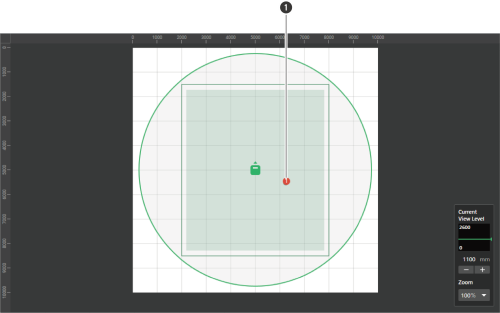
Speak from anywhere in the room.
The location where the voice was detected is shown in the main area.
-
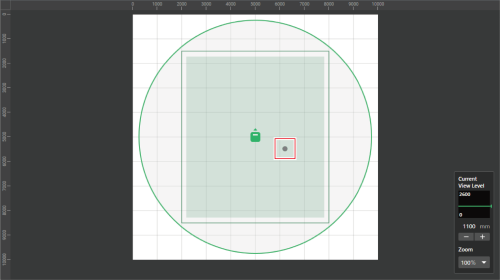
Click “Mark”.
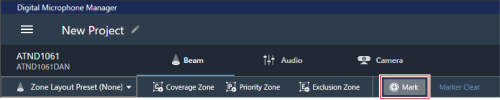
The position marker is added.
Deleting a position marker
-
Select a microphone in the main area.
The microphone settings screen appears.
-
Click “Beam”.
-
Click “Marker Clear”.
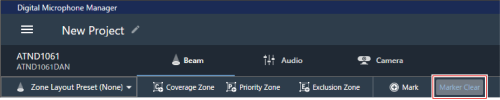
All position markers are deleted.
|
|
|
|---|