Setting an Exclusion Zone
Adding an Exclusion Zone
Set areas where all sounds from noise sources such as air conditioners and projectors should be excluded from sound pickup.
- Up to 16 Exclusion Zones can be set for each microphone.
-
Select a microphone in the main area.
The microphone settings screen appears.
-
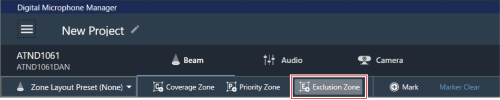
Click “Beam”.

-
Click “Exclusion Zone”.
- With each click, the mode for adding an Exclusion Zone is turned on/off.
- The mode for adding an Exclusion Zone can be turned off by right-clicking in the microphone pickup area or by pressing the Esc key on the keyboard.
The mode for adding an Exclusion Zone is turned on.
-
Add an Exclusion Zone by dragging it within the microphone pickup area.
- Exclusion Zones cannot be added outside the microphone pickup area.
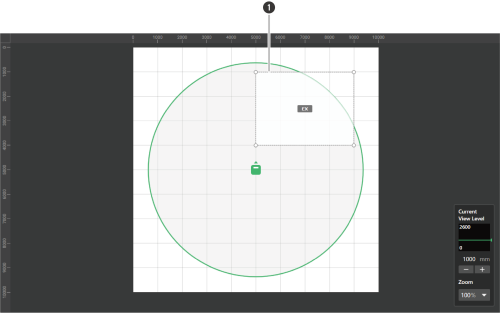
- Exclusion Zone
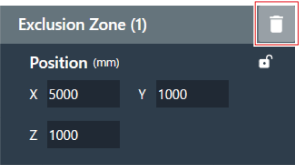
The added Exclusion Zone is selected and “Exclusion Zone” appears in the context panel.
-
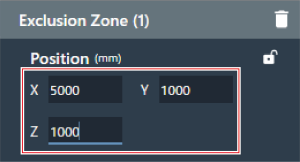
Adjust the position of the Exclusion Zone.
- Under “Position”, enter the height from the floor in “Z” and the position from the origin point using “X” (horizontal direction) and “Y” (vertical direction).
- In the main area, the Exclusion Zone can also be dragged to change its position.
-
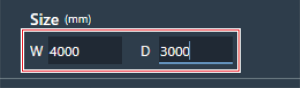
Adjust the size of the Exclusion Zone.
- Under “Size”, enter the size of the Exclusion Zone using “W” (Width) and “D” (Depth).
- In the main area, the point in the corner of the Exclusion Zone can also be dragged to resize the image.
|
|
|
|---|
Deleting an Exclusion Zone
-
Select an Exclusion Zone in the main area.
“Exclusion Zone” appears in the context panel.
-
Click the trash icon or press the Delete key.
-
Click “OK” in the message.
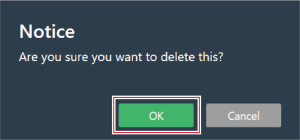
The Exclusion Zone is deleted.
Locking an Exclusion Zone
The Exclusion Zone is locked to prevent changes to its position and size.
-
Select an Exclusion Zone in the main area.
“Exclusion Zone” appears in the context panel.
-
Click the lock icon.
- With each click, the Exclusion Zone switches between locked and unlocked.

The Exclusion Zone is locked.